Xbox Wireless Adapter for Windows - This Device Cannot Start (Code 10)

xbox-wireless-adapter-for-windows.jpg

If you have an Xbox Wireless Adapter for Windows and get the error "This device cannot start. (Code 10)" perform the following steps to fix the issue.

  1. Open device manager and right click and select properties for the "Xbox Wireless Adapter for Windows" device.
    • Navigate to the Advanced tab.
    • Selective Suspend: Disable
    • Remove the Xbox Wireless Adapter and plug it back in.

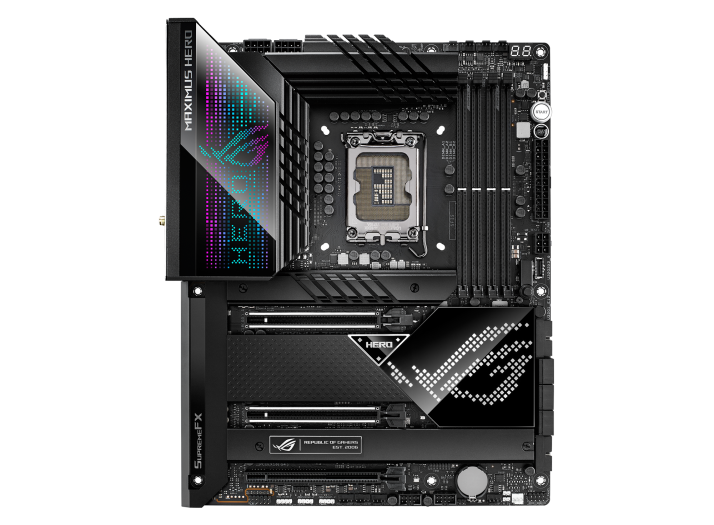
ASUS ROG STRIX Z690-E GAMING WIFI Build

aus-rog-strix-z690-e-gaming-wifi.png

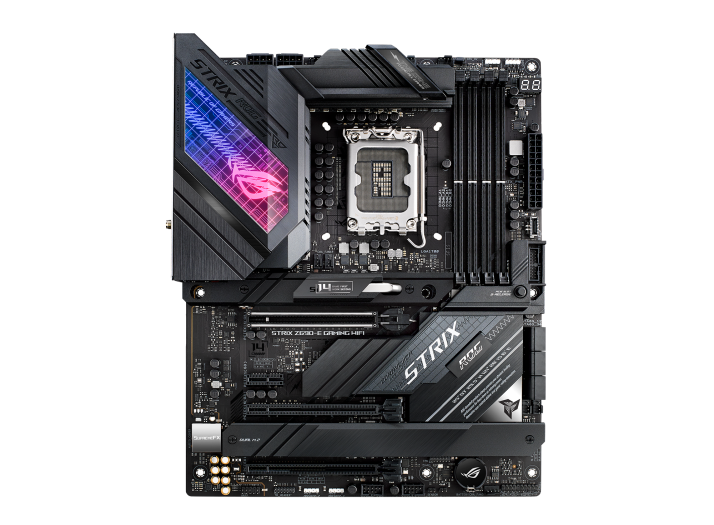
Due to the potential risks of the ASUS MAXIMUS Z690 HERO motherboard catching on fire I built this temporary rig until ASUS figures out the problem. The Z690 HERO is definitely a nicer board. If I didn't have a wife, children, and dogs I would have probably kept running it. Below are the details of the build.

ASUS ROG STRIX Z690-E GAMING WIFI Configuration

  1. Update the BIOS from Version 0503 to 0811.
  2. Configure initial BIOS settings to load Windows 11.
    • Boot
      • CSM
        • Launch CSM: Disabled
      • Secure Boot
        • OS Type: Windows UEFI mode
        • Secure Boot Mode: Custom
  3. Restart and load Windows 11 for the first time.
  4. Upgrade Intel ME Consumer Firmware from 16.0.0.1423 to 16.0.15.1605 (automatic restart).
  5. Upgrade ALC4080/ALC4082 firmware from 4.501.0000-0013.0000 to 4.501.0000-0020.0000.
  6. Upgrade USB PD controller to Version 004.
  7. Reinstall Intel Chipset Driver Version 10.1.18838.8284 (automatic restart).
  8. Reinstall Intel MEI Driver Version 2131.1.4.0 (automatic restart).
  9. Install Intel Serial IO Driver Version 30.100.2131.26 (automatic restart).
  10. Install Intel Thunderbolt Driver Version 1.41.1229.0 (automatic restart).
  11. Install Realtek USB Audio Gen2 Driver Version 6.3.9600.2307 (automatic restart).
  12. Configure BIOS for overclock.
    • Ai Tweaker
      • Ai Overclock Tuner: XMP II
      • Intel(R) Adaptive Boost Technology: Enabled
      • ASUS MultiCore Enhancement: Enabled - Remove All limits
      • Performance Core Ratio: AI Optimized
      • Efficient Core Ratio: AI Optimized
    • Advanced
      • PCI Subsystem Settings
        • Re-Size BAR Support: Enabled
    • Run the Qfan Control to profile the fans (I don't run AI Suite 3).
    • This netted me a 71% overclock (5.5 GHz).

Notes

  1. Noctua NH-D15 wouldn't fit in the horizontal direction so I had to install it vertically (airflow goes from bottom to top).
  2. Coming from an ASUS ROG MAXIMUS Z690 HERO I was disappointed to see only one USB 3.2 Gen 1 header.
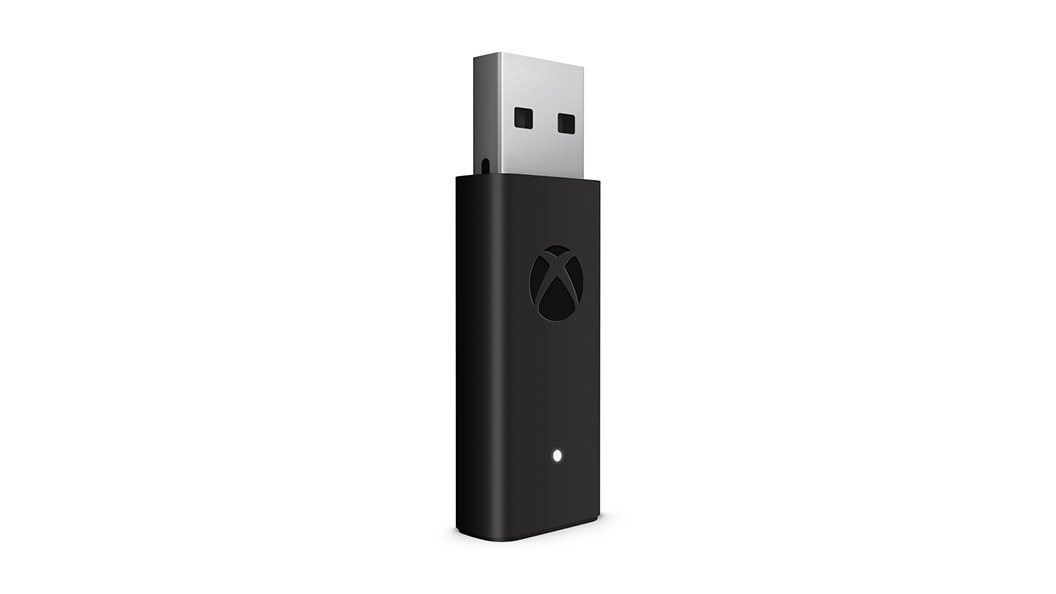
  3. I get the feeling this motherboard has USB issues. When trying to connect a Xbox Wireless Adapter for Windows via a USB hub it throws an error. My mouse froze twice through the same USB hub. On the Z690 Hero and previous build this was never an issue. I'm still testing and will update as I learn more.

An Error Occurred During an Attempt to Read the Federation Metadata

windows-server.jpg

During a routine updating of certificates I noticed this error within the AD FS management console. After further investigation it looks like some relaying party’s are now using TLS 1.2 instead of the legacy 1.0 and 1.1 protocols.

To fix simply run the following commands as an administrator in Power Shell. This machine happened to be running Windows Server 2012 R2.


New-Item 'HKLM:\SYSTEM\CurrentControlSet\Control\SecurityProviders\SCHANNEL\Protocols\TLS 1.2\Client' -Force | Out-Null

New-ItemProperty -path 'HKLM:\SYSTEM\CurrentControlSet\Control\SecurityProviders\SCHANNEL\Protocols\TLS 1.2\Client' -name 'Enabled' -value '1' -PropertyType 'DWord' -Force | Out-Null

New-ItemProperty -path 'HKLM:\SYSTEM\CurrentControlSet\Control\SecurityProviders\SCHANNEL\Protocols\TLS 1.2\Client' -name 'DisabledByDefault' -value 0 -PropertyType 'DWord' -Force | Out-Null

New-ItemProperty -path 'HKLM:\SOFTWARE\Microsoft\.NetFramework\v4.0.30319' -name 'SchUseStrongCrypto' -value '1' -PropertyType 'DWord' -Force | Out-Null

Once complete close the AD FS management console and reopen. Right click your relying party trust(s) that have the error and click “Update from Federation Metadata”.


Upgrading the Motherboard and Processor Without Reinstalling Windows 11

asus-z690-hero.png

As a PC enthusiast I’m often faced with the decision of reinstalling Windows every time I refresh my system, especially when installing a new motherboard. The internet recommends reinstalling Windows to avoid any potential driver issues that may happen post upgrade.

I recently learned that Windows 10/11 seamlessly upgrades new hardware with very little effort. To say I was skeptical would be an understatement, however, I wanted to learn and see for myself how well it would handle this task.

I started my build with a new ASUS ROG MAXIMUS Z690 HERO motherboard with an Intel 12th generation processor. I threw in the impossible to find DDR5 RAM then started to transfer the GPU, SSD, cooling, and power supply from the old system to the new. Did you know the new ASUS Z690 HERO doesn’t have a header for a speaker? Neither did I which is a bummer since I use it for diagnostic purposes often.

It was go time so I plugged in all of the cables and powered on the rig. After post, the BIOS sent me straight to the settings page. I decided to upgrade the BIOS to version 0811 before proceeding. After a few more reboots, I configured the BIOS, and to my amazement Windows 11 loaded.

I immediately started updating drivers and refreshing device manager to verify everything was installed/recognized correctly. Once complete I sat there amazed how simple the upgrade process was. What was usually a 1+ day event of feeding disks to a computer was now a trivial couple hour process. Even better, the system appears to be stable, and everything works as expected. I quickly jumped back into BIOS, applied an overclock and now I’m sitting happy and stable at 5.5 GHz.

There were a few quirks post upgrade. I’m not sure why (haven’t had time to research) but Steam required a reinstall. After that I learned my entire Steam library was now gone so I had to reinstall my games. Thankfully all save data was intact. I had to re-pair some Bluetooth devices. A few software components required re-activation. Finally, the PowerToys FancyZones layout defaulted so I had to re-apply my custom layout.

I’m going to try a few more upgrades, however, it’s looking like this is my new method of upgrading hardware. I’m really enjoying Windows 10/11.


ASUS ROG MAXIMUS Z690 HERO Build

asus-z690-hero.png

Finally found some DDR5 RAM and was able to build my new rig. I used the following drivers to get everything up and running stable.

BIOS Version 0811

Intel ME Consumer Firmware V16.0.15.1605

Intel(R) Chipset Software Installation Utility V10.1.18838.8284

Intel(R) Management Engine Interface V2131.1.4.0

Intel(R) Serial IO V30.100.2131.26

Intel Thunderbolt Driver V1.41.1229.0

Intel(R) I225 Gigabit Ethernet Driver V1.0.2.14

Intel WiFi Driver V22.100.1.1

Intel Bluetooth Driver V22.100.1.1

Realtek USB Audio Driver V6.3.9600.2297

Intel(R) SATA AHCI-RAID Driver V18.36.4.1022

I had issues installing the latest Realtek USB Audio Driver (V6.3.9600.2307) so I rolled back to V6.3.9600.2297. The Intel SATA ACHI-RAID driver was documented to support the z590 chipset, however, it also applies to the z690 chipset. I didn't install Armoury Crate or ASUS AI Suite 3 out of personal preference.

I want to sincerly thank MoKiChU at the ASUS ROG forums for keeping the latest and greatest drivers and firmware up to date.

BIOS Settings

  • Ai Tweaker
    • Ai Overclock Tuner: XMP II
    • Intel(R) Adaptive Boost Technology: Enabled
    • ASUS MultiCore Enhancement: Enabled - Remove All limits
    • Performance Core Ratio: AI Optimized
    • Efficient Core Ratio: AI Optimized
  • Advanced
    • PCI Subsystem Settings
      • Re-Size BAR Support: Enabled
  • Run the Qfan Control to profile the fans (I don't run AI Suite 3).

This netted me a 71% overclock (5.5 GHz).