SCUBA Doubles Setup
This is a quick overview of one of the setup's I frequently dive here in the Pacific Northwest. It's a modified version of Global Underwater Explorer's (GUE) equipment configuration. This is my go to kit for extended recreational dive profiles when I want extra gas or redundancy.
Global Underwater Explorers
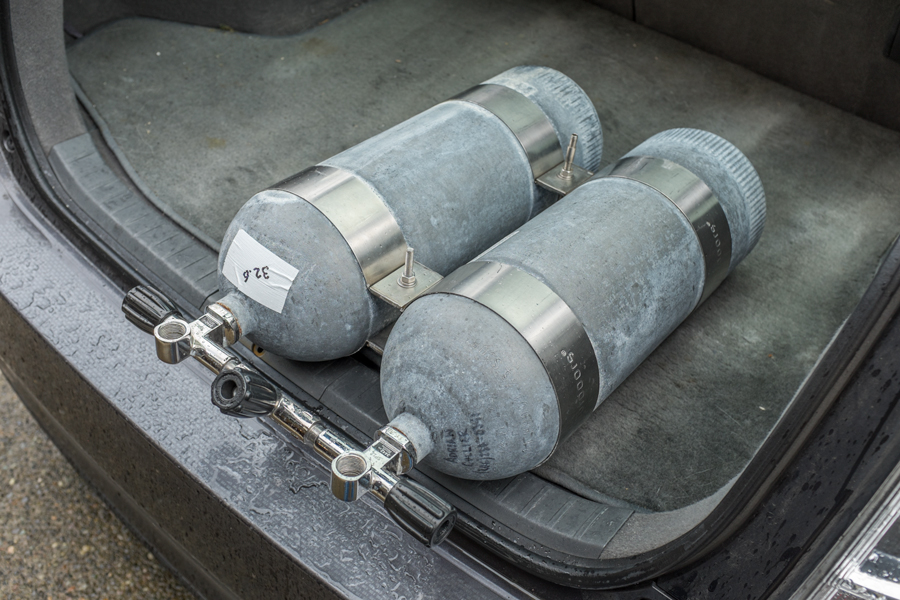
For tanks I use a pair of high pressure XS Scuba Worthington Steel Cylinder's (X-Series 100) with Thermo Valves. The service pressure for these tanks is 3442 psi and hold a true capacity of 99.5 cubic feet. The bands are by DeepSea Outdoors which I believe is no longer in business. It's hard to see but on the bottom band there's a bolt extension provided by Halcyon for their cinch system.
Note: In January 2014, Worthington ceased production of steel scuba cylinders.
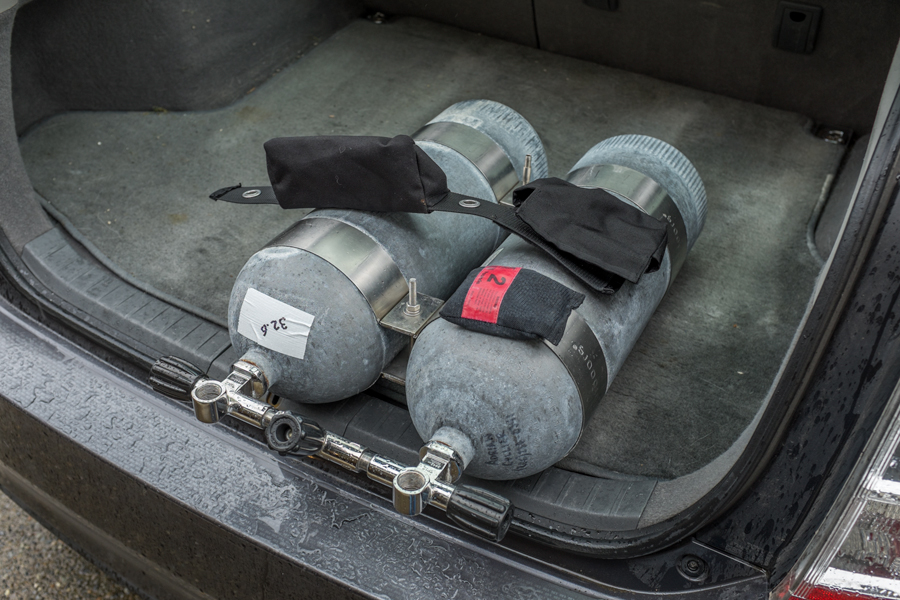
This is a Halcyon V-Weight Pouch. Essentially it replaces the traditional lead v-weight (literally a bar of lead) with two pockets to contain lead shot weights. During the colder months, when I wear loftier undergarments, I use a two pounds of lead. During the warmer months I use no weight at all. The lead pouch is manufactured by XS Scuba.

The Halcyon V-Weight Pouch is now in place.
Note: According to Halcyon the V-Weight Pouch was designed for use with 7.25" bands. Your mileage may vary if you use larger tanks and bands.
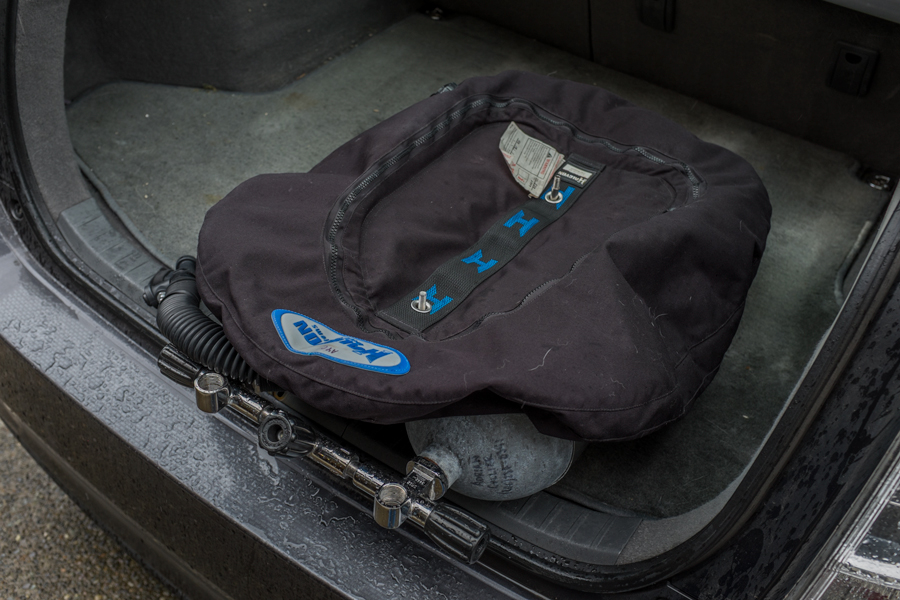
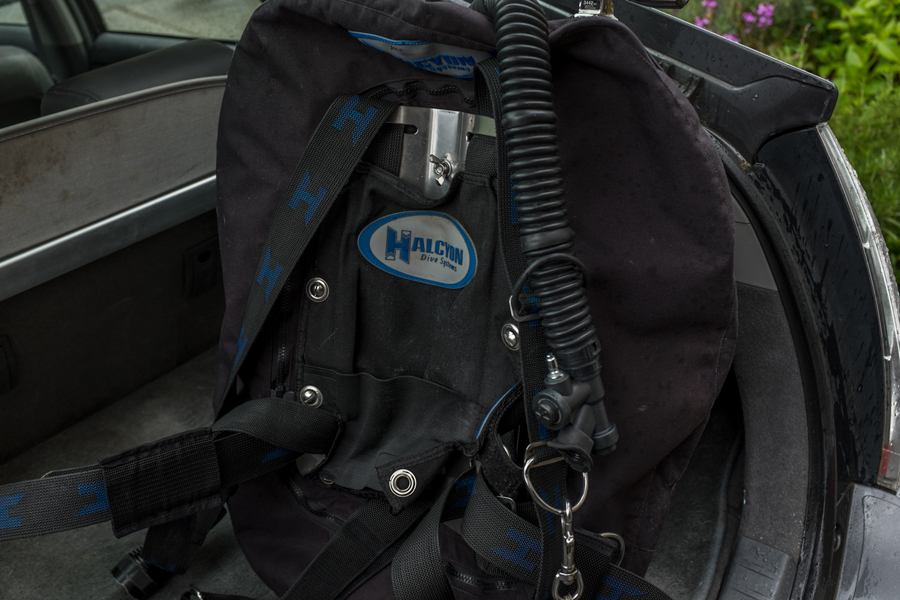
The Halcyon Evolve Wing goes on next. This wing is rated at 40 pounds of lift and Halcyon also offers them in 30 and 60 pounds of lift versions. I use the 60 pound version when diving double 130's.

Next is the Halcyon Stainless Steel Backplate with Cinch Harness. On the left side of the plate is the optional Halcyon Argon Tank Mounting Strap. The kit comes with two straps but I find that a single strap is more then sufficient to secure my 6 cubic foot inflation bottle. It also makes the installation and removal of the inflation bottle easier.
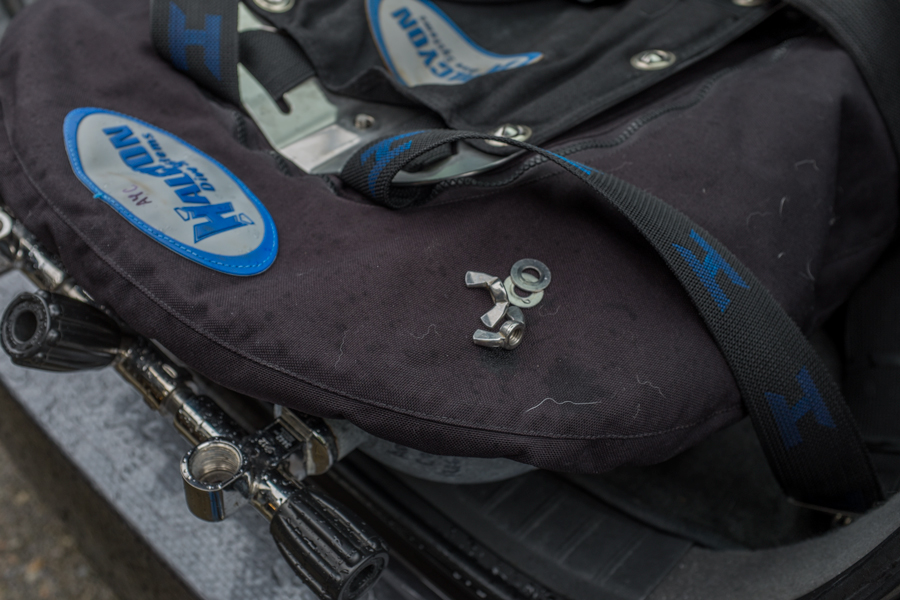
Washers and wing nuts secure the plate to the dive cylinders.
I then set the tanks upright to finish assembly of the kit.

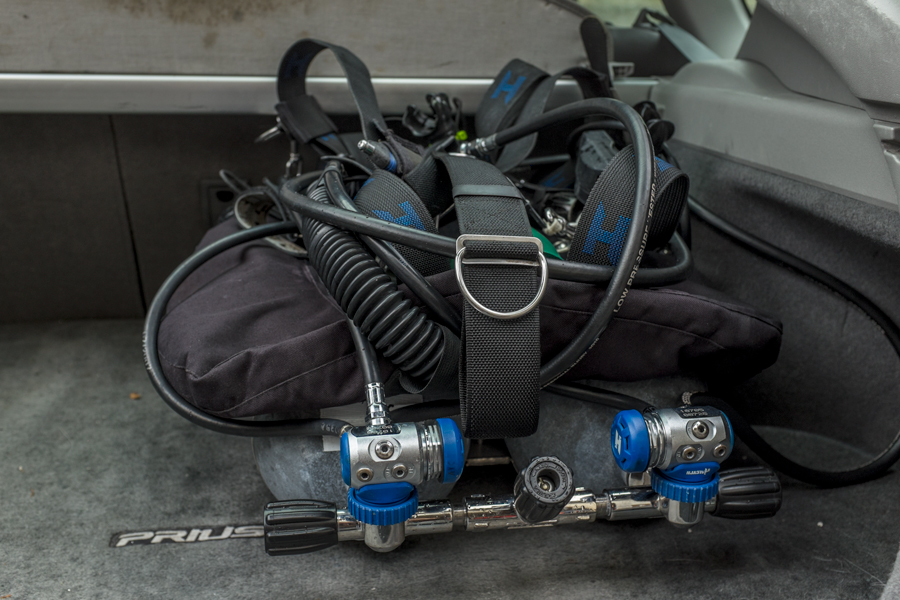
On the right post I install the 1st stage regulator with primary 2nd stage regulator, 7 foot long hose, and wing inflation hose.
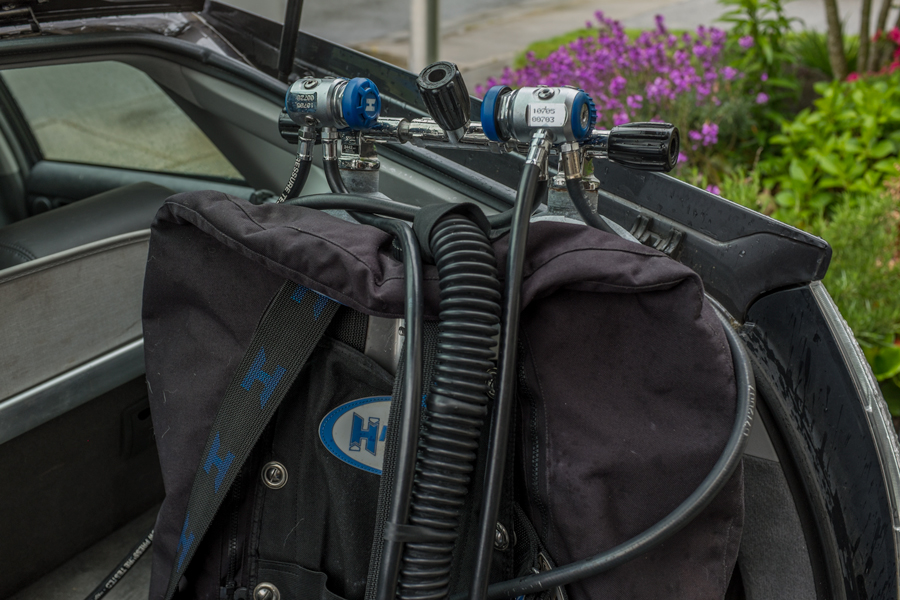
On the left post I install a second 1st stage regulator with backup 2nd stage regulator, pressure gauge, and drysuit inflation hose. During the warmer months I plumb my drysuit inflation hose directly into the 1st stage regulator and skip the installation of the inflation bottle.

This image illustrates how I route my hoses. I prefer to route my backup 2nd stage on top of the long hose. I also prefer the Halcyon H-50D Diaphragm First Stage Regulator over the Halcyon H75P Piston First Stage Regulator due to the way the hoses route.
Note: The Halcyon H-50D is a rebranded Scubapro MK17. The Halcyon H75P is a rebranded Scubapro MK25. The Halcyon Halo (2nd Stage) is a rebranded Scubapro G250V. The Halcyon Aura (2nd Stage) is a rebranded Scubapro 395
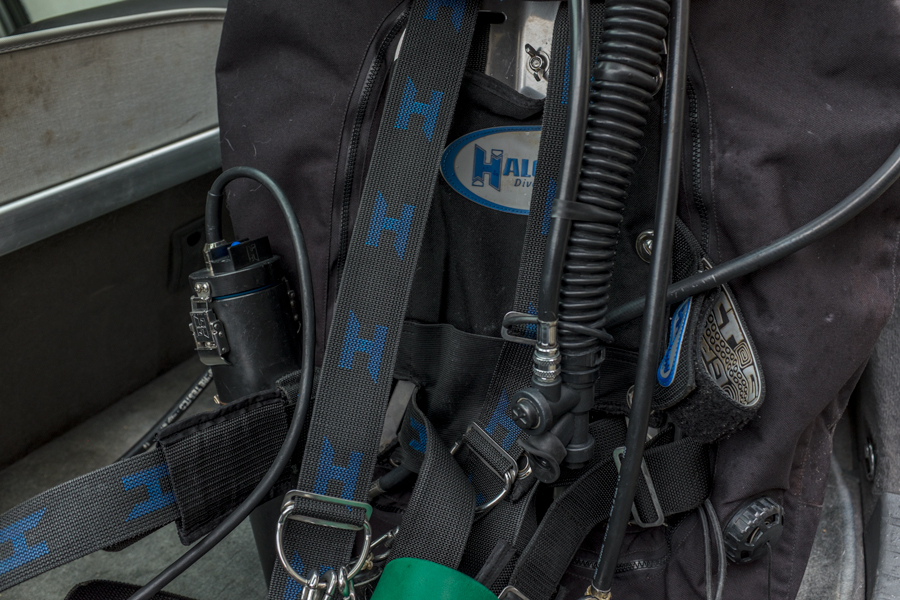
I then install the can light. The unit pictured is the Halcyon Explorer 9.
I attach the light head to the right d-ring.
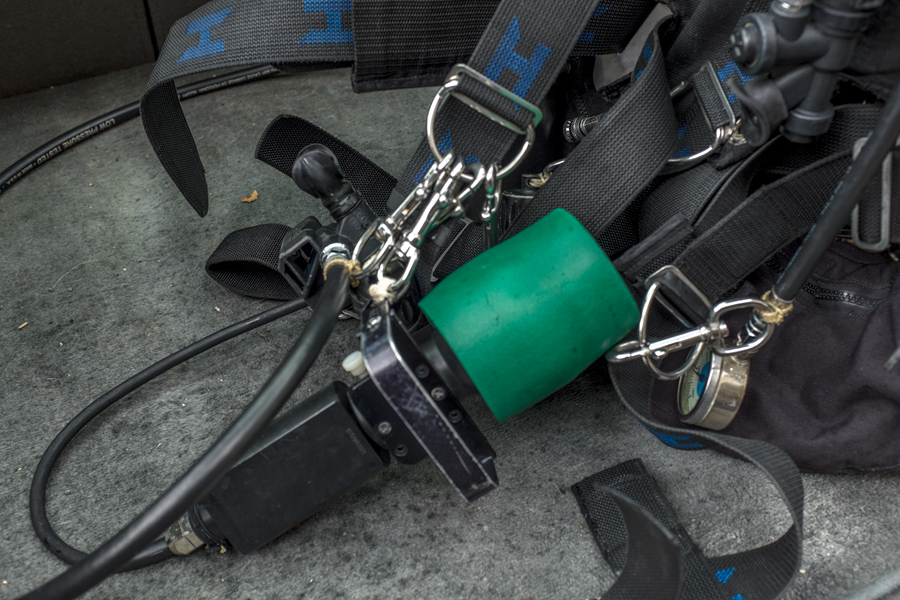
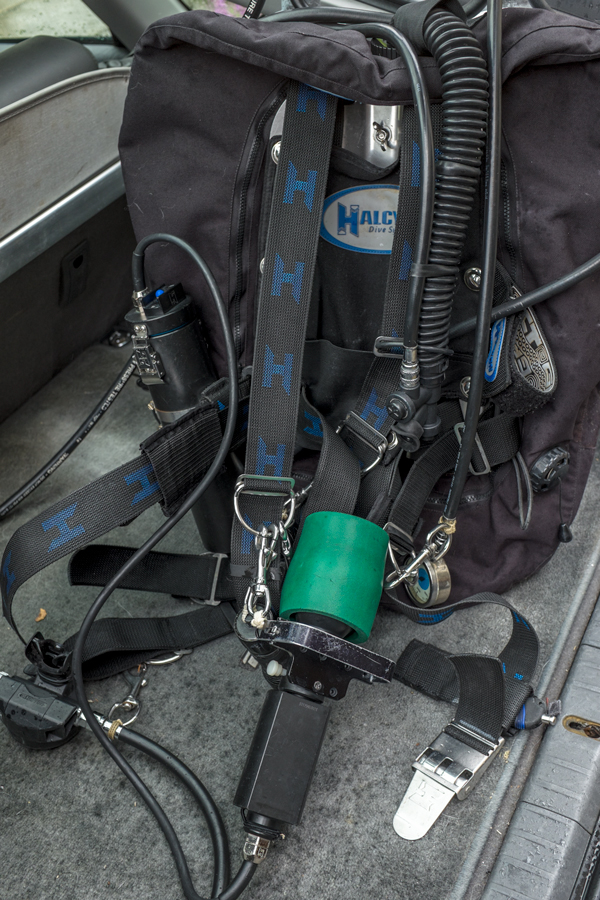
I then attach the primary 2nd stage to the right d-ring. From right to left I have the following. Spare double ender, backup light, can light, 2nd stage. I do this so the 2nd stage is always the first thing I grab. Also note the pressure gauge is attached to the left d-ring on the waist strap. Since were talking about d-rings, not pictured is the left d-ring. On this d-ring I have a second backup light.
The kit is now complete. I neatly fold up the straps and I'm ready to go diving! You'll notice that most of my gear is branded Halcyon. I've seen a lot of dive gear made by other brands and simply put, they all pretty much do the exact same thing. I enjoy nice things and after looking closely at other competitive brands I ended up going with Halcyon. The primary reason being the fit and finish and the fact that they sell a complete kit. Is it absolutely necessary? No! Is it nice? Absolutely!
Seattle, WA.